-
Getting Started
-
Garmin Devices
-
Setup
-
Manage
-
Data Collection
- Collect Data: Synchronization Types
- Collect Data: Tablet Sync (multi-sync) with "Fitrockr Hub (Multi-Sync)" app
- Collect Data: Smartphone Sync (single-sync) with Garmin Connect app
- Collect Data: Overview
- Collect Data: Smartphone Sync (single-sync) with Fitrockr app
- Collect Data: Sync via USB cable to Laptop
- Collect Data: Smartphone Sync (single-sync) with Omron Blood Pressure Monitors
-
Track
-
Analyze
-
Other
-
Trouble Shooting
-
Definitions
-
FAQ
Smartphone Sync (single-sync) with Fitrockr app
Setup - Join-Code
Pre-requisite to sync with the Fitrockr app (Android: Fitrockr Sync / iOS: Fitrockr Hub) is a Fitrockr user account. There are two options to create a user account:
(A) Set up user account beforehand by administrator
Create a user account and generate the personal join-code of the user that should be connected with the Garmin device. See (A) in below screenshot.
B) Set up account by user during Garmin device pairing
Generate the “Create by Join-Code” generic join-code. When this generic join-code is used, user will be asked to create an account while pairing the Garmin device with the smartphone. See (B) in below screenshot.
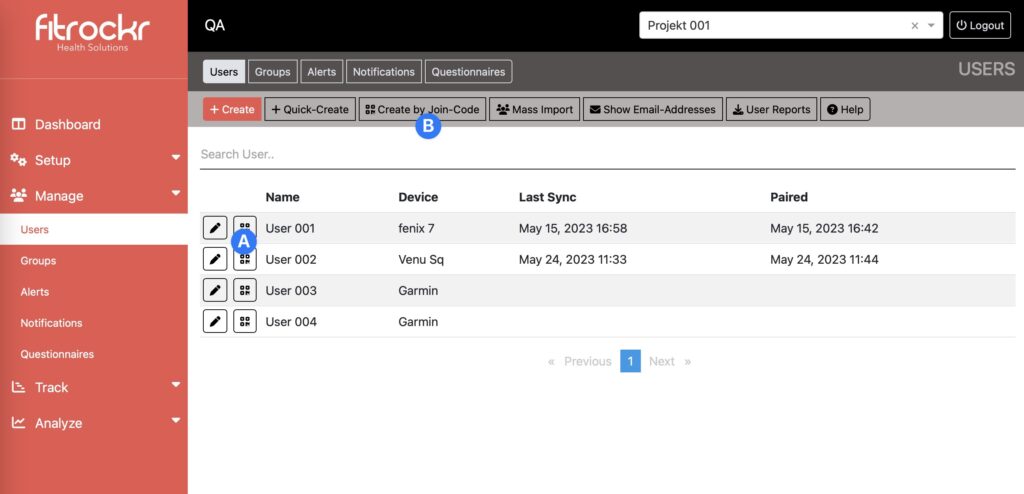
Share join-code with the user to connect smartphone with Garmin device.
Setup – Android Smartphone
Fitrockr Sync app requires Android OS10+
If you experience issues, follow the Fitrockr Trouble Shooting Guide.
(1) update Garmin device firmware (https://www.fitrockr.com/help-center/prepare-wearable-devices/)
(2) factory reset Garmin device.
(3) remove Garmin Connect app from smartphone if applicable.
(4) download the FITROCKR SYNC app from the Google Play Store.
There are several Fitrockr apps on the store. Do not mistakenly download the wrong one.
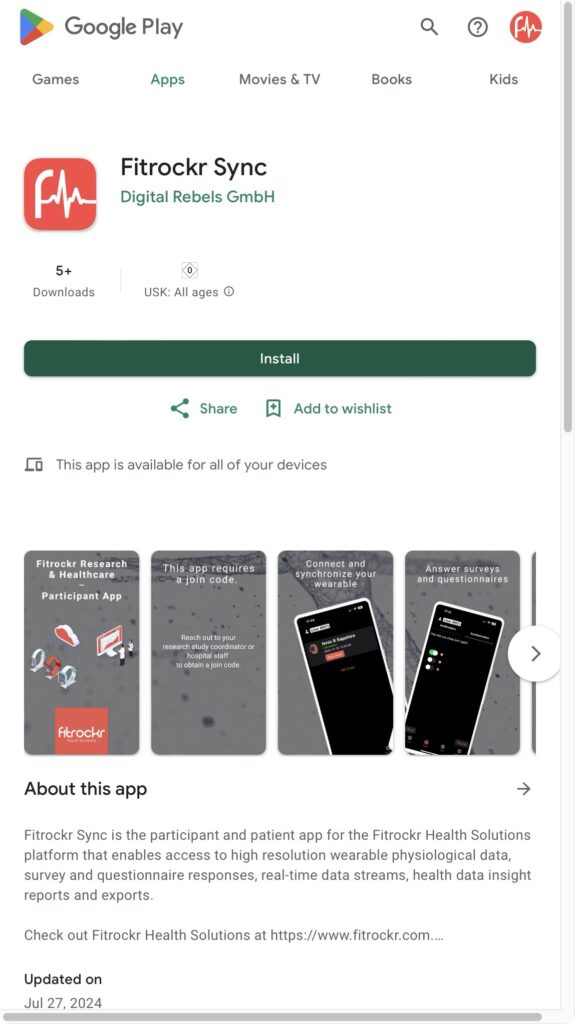
(5) open the Fitrockr Sync app and select GET STARTED.
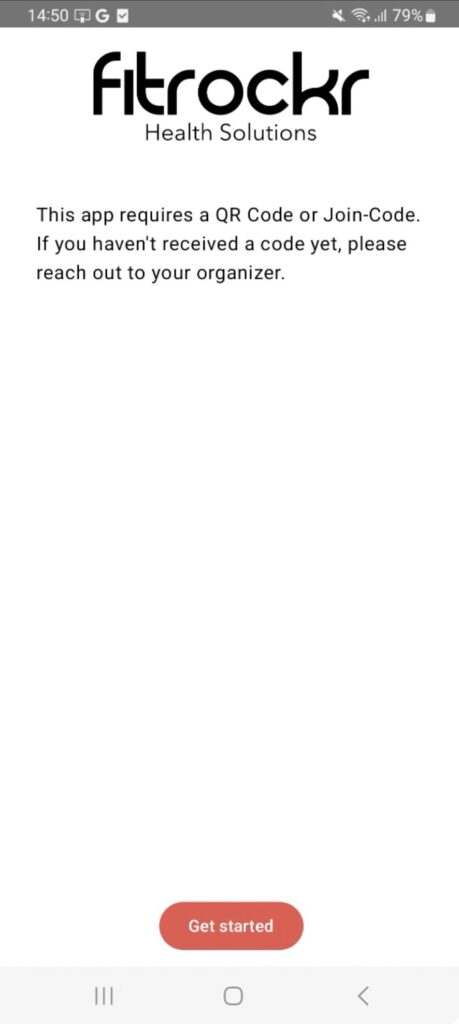
(6) approve camera access to allow scanning of QR code.
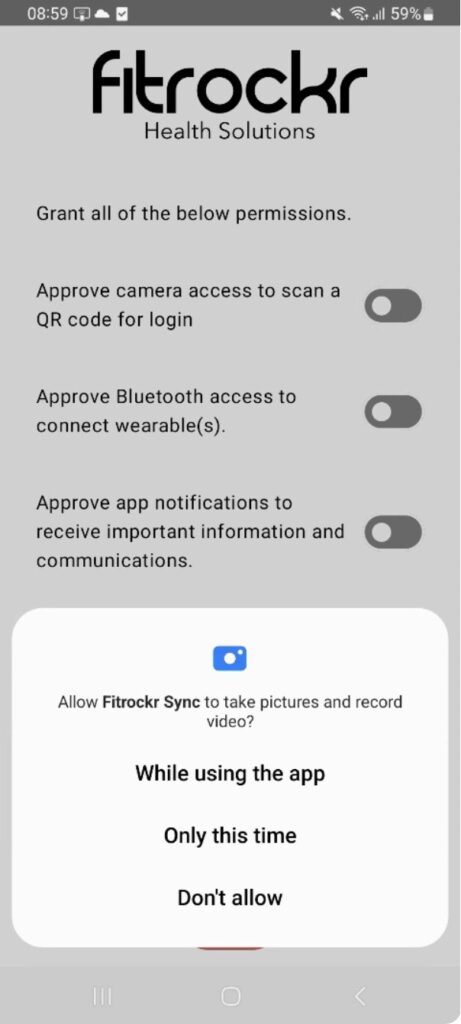
(7) approve Bluetooth access to allow connecting wearable(s).
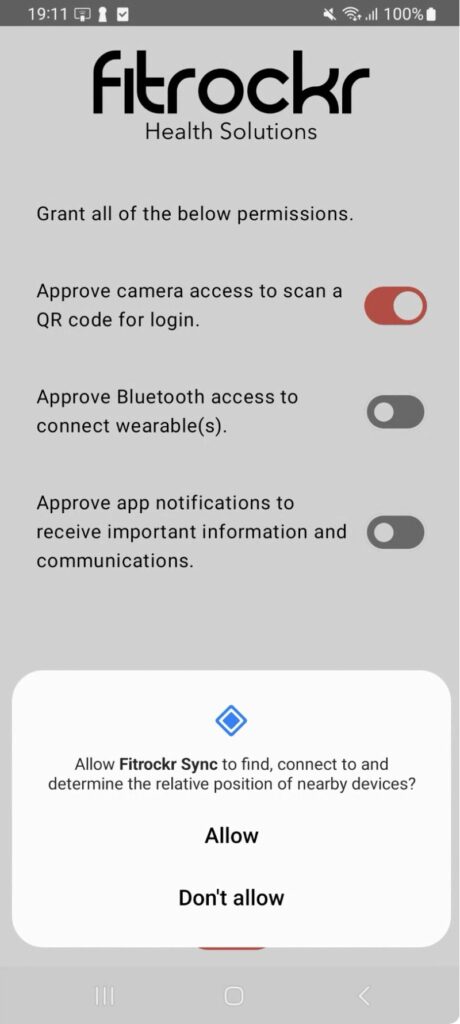
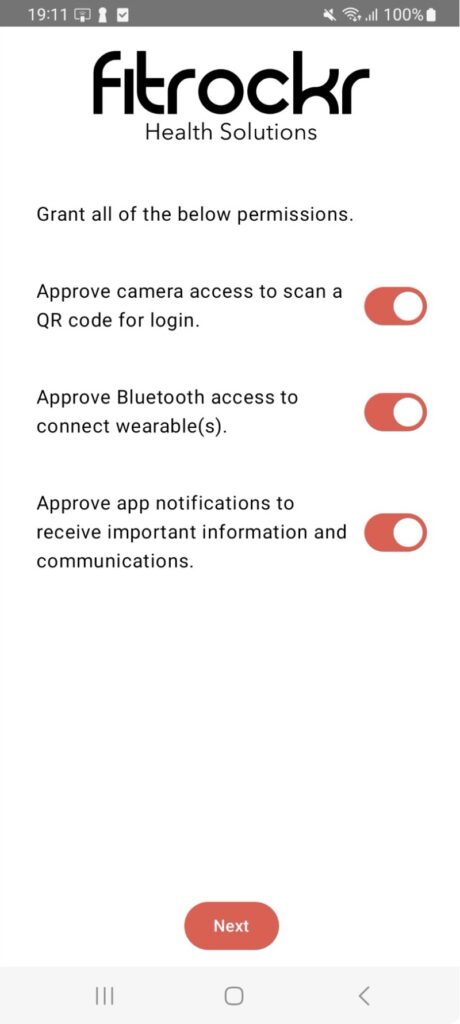
(8) approve app notifications to receive important information and communications.
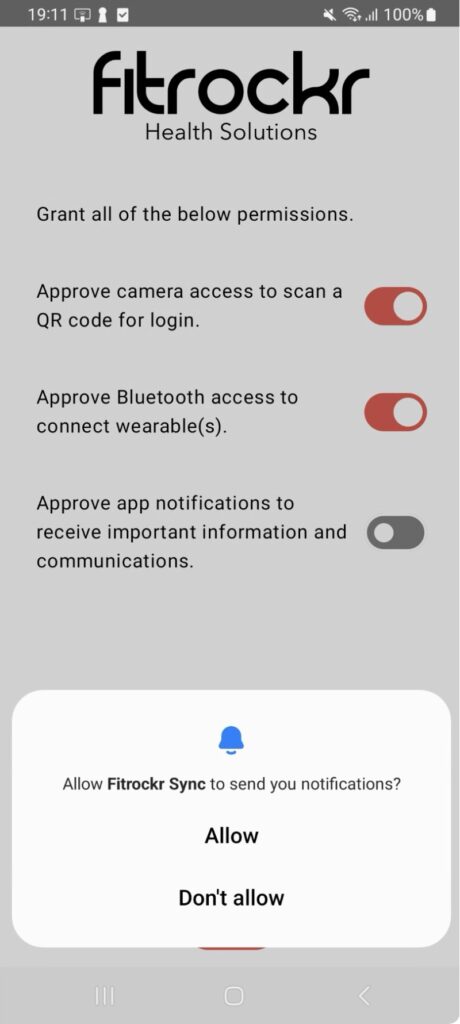
(9) select NEXT.
(10) disable battery optimization.
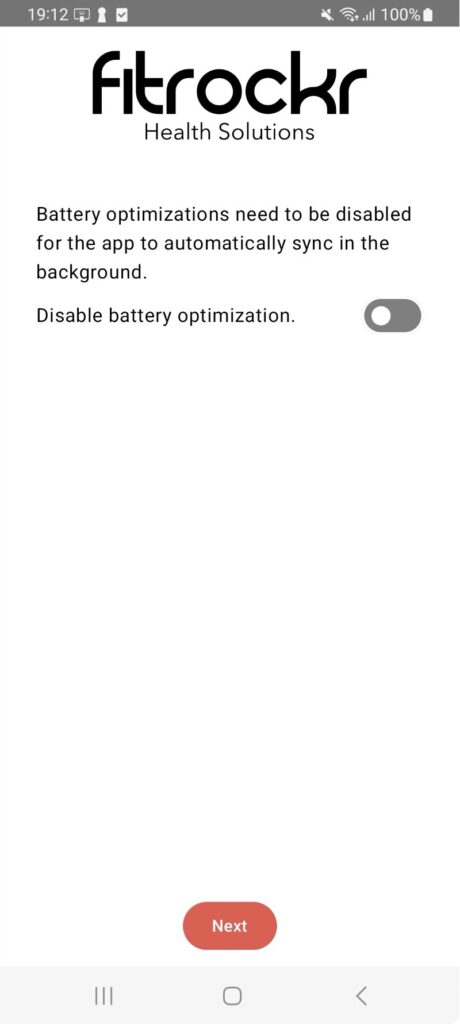
(11) select OPEN SETTINGS.
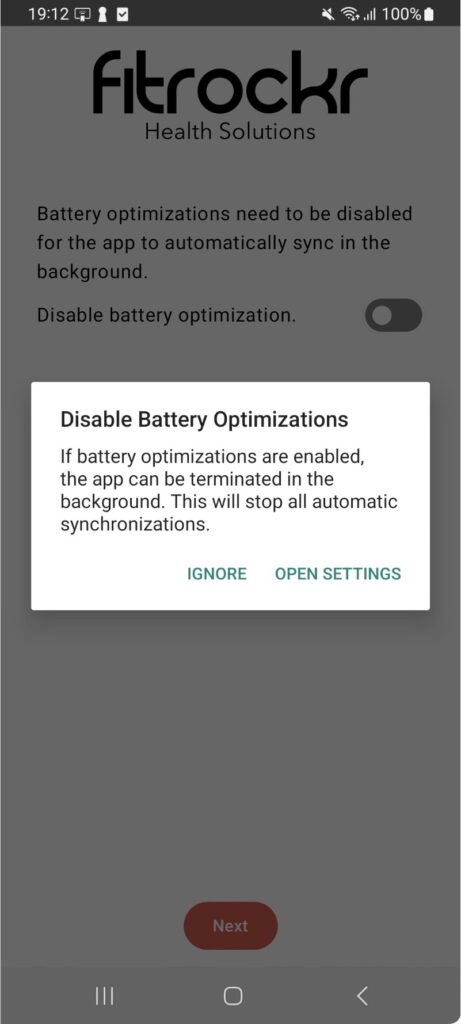
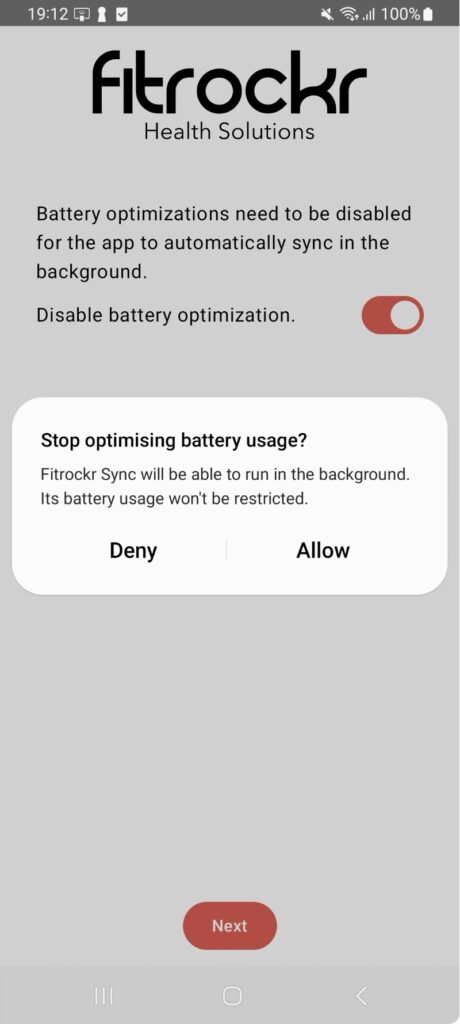
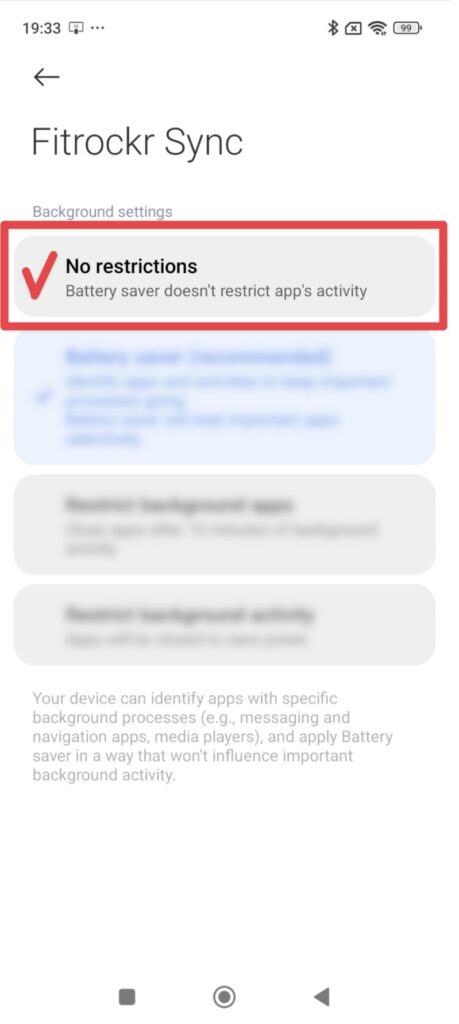
(12) depending on the Android phone different messages may appear. Either ALLOW request or select UNRESTRICTED.
Alternative A:
Alternative B:
(13) select NEXT.
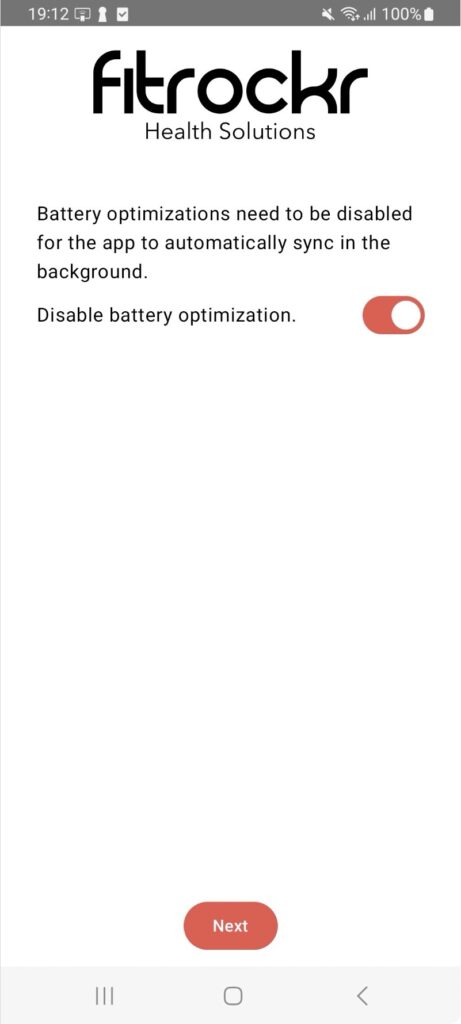
(14) select APPROVE BACKGROUND SYNC.
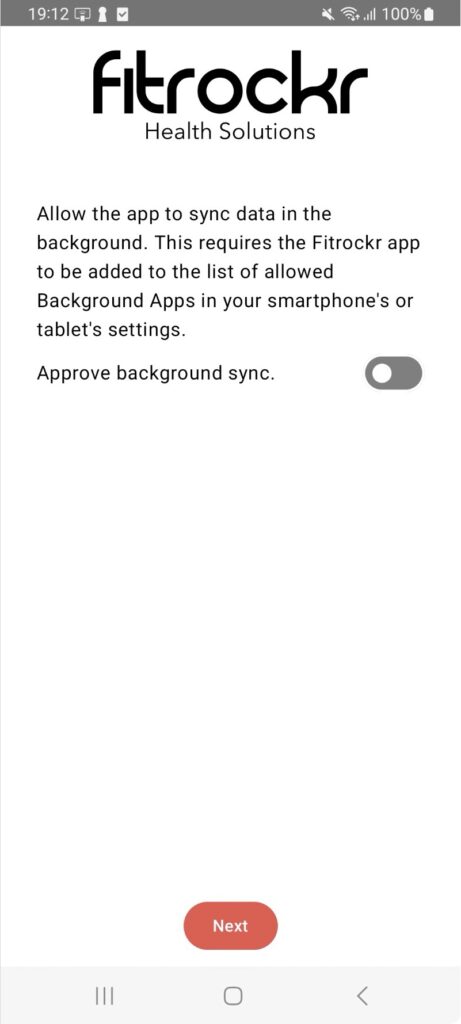
(15) select OPEN SETTINGS.
Some phones may skip this step (e.g. Google Pixel phone).
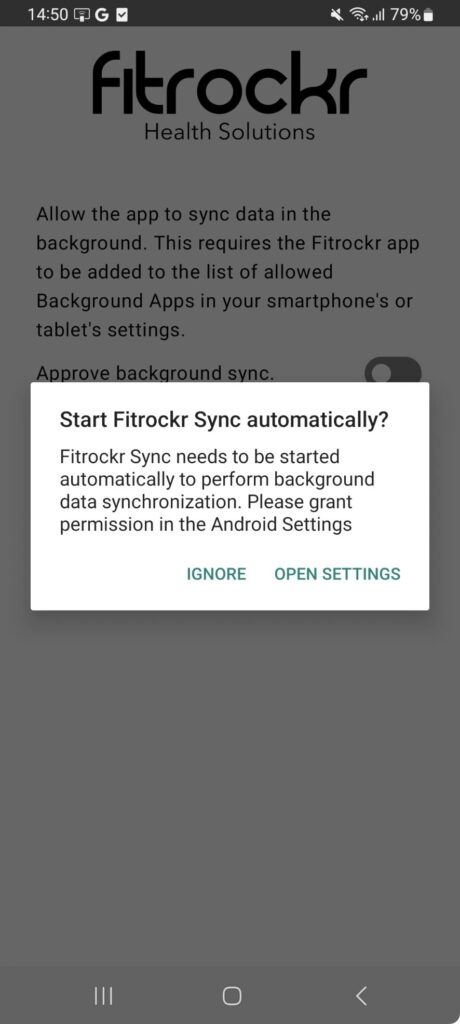
(16) select + to add app (this screen may look different depending on your smartphone).
Some phones may skip this step (e.g. Google Pixel phone).
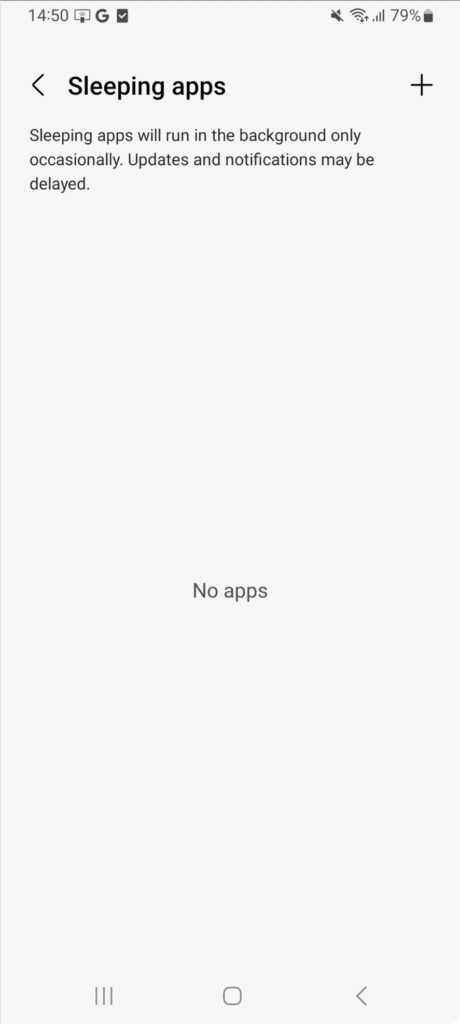
(17) select Fitrockr Sync app. If Fitrockr Sync app is not available in the list, don’t worry and proceed with the next step.
Some phones may skip this step (e.g. Google Pixel phone).
Some phones will not list the Fitrockr Sync app. In this case, you can skip this step and just go back to the Fitrockr Sync app and continue.
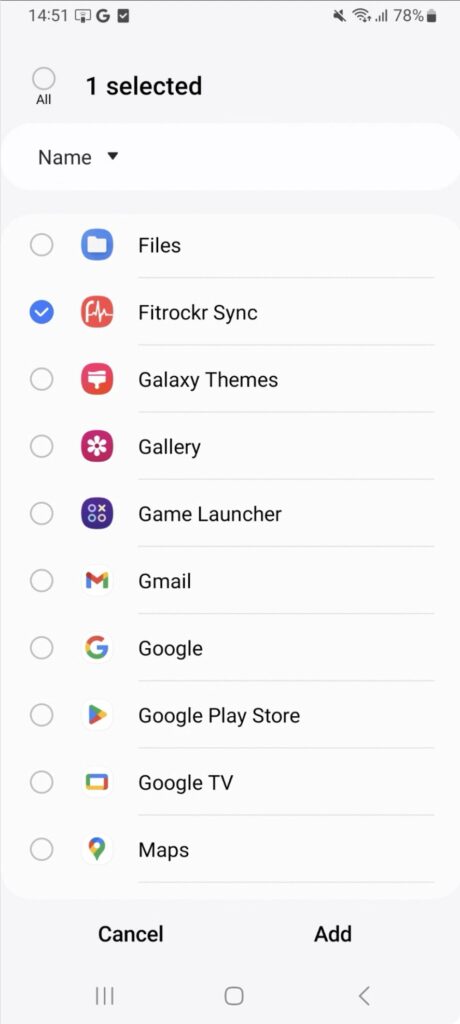
(18) click < to go back to the Fitrockr Sync app.
Some phones may skip this step (e.g. Google Pixel phone).
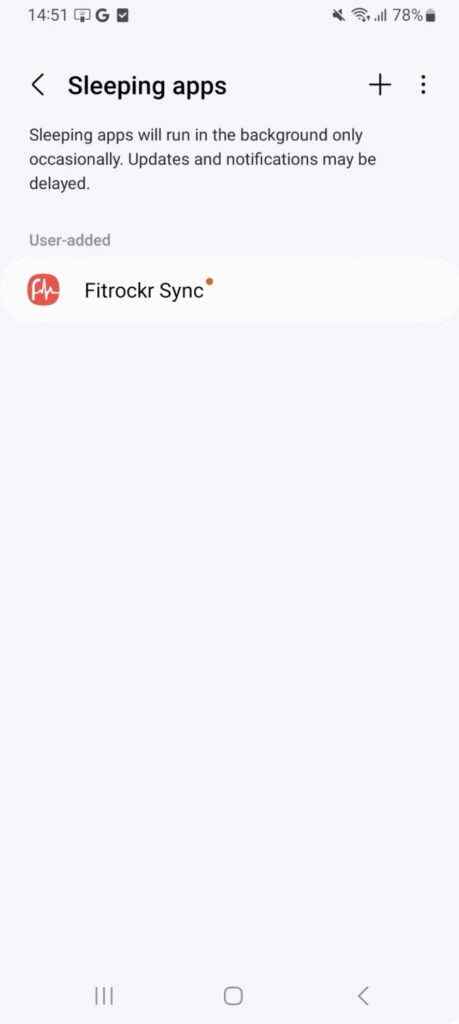
(19) scan QR code or manually enter join-code.
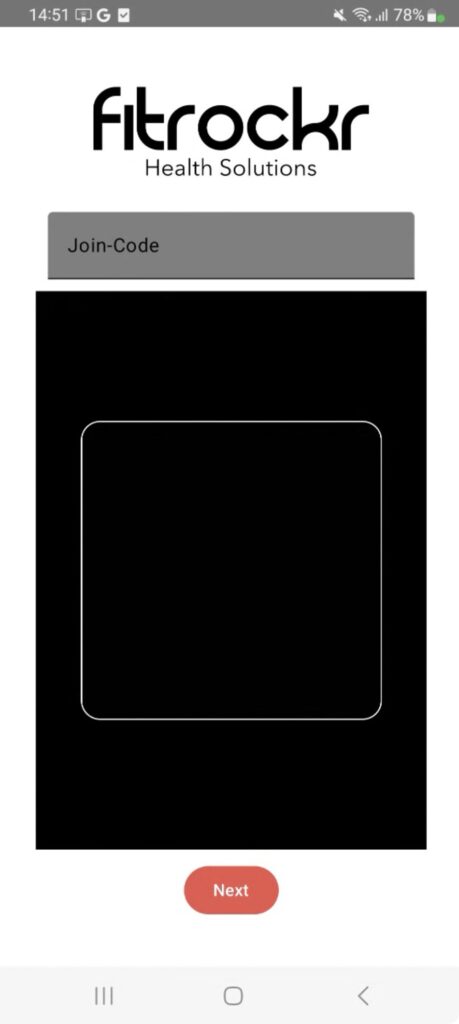
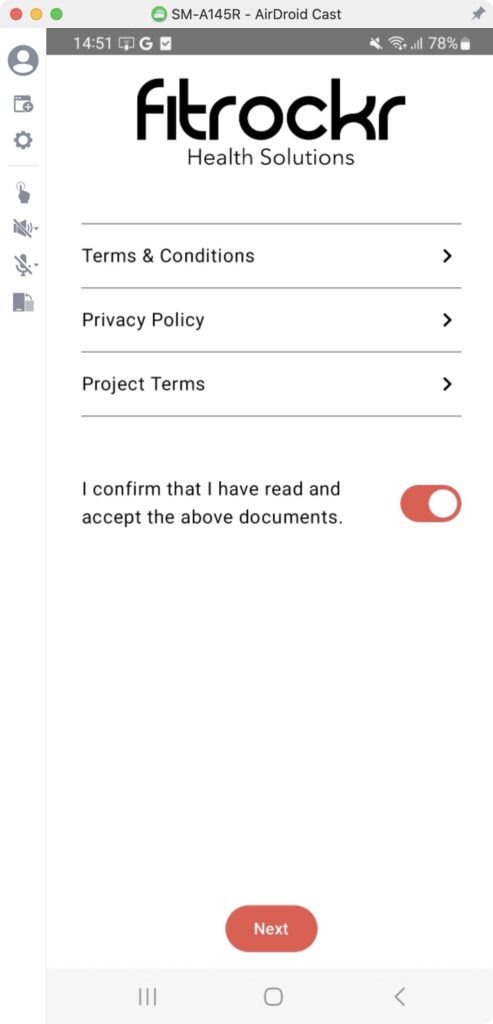
(20) confirm that you have read and accept the documents.
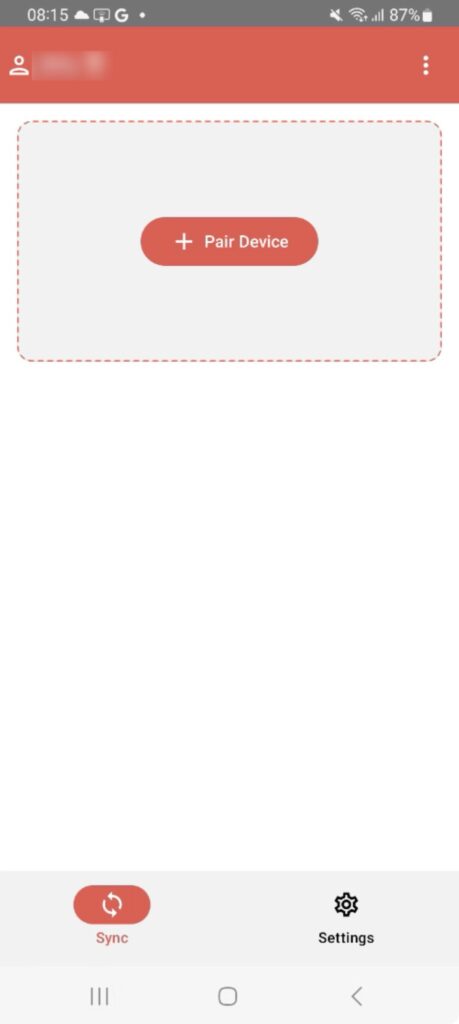
(21) select PAIR DEVICE.
(22) select Garmin device.
If Garmin device is not displayed, make sure it is in Bluetooth pairing mode or check the trouble shooting guide at https://www.fitrockr.com/help-center/fitrockr-hub-app-trouble-shooting
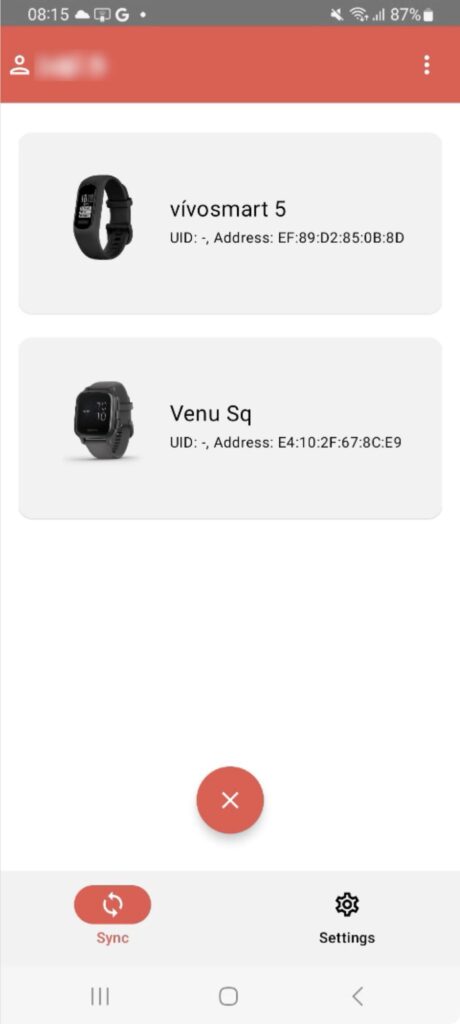
(23) follow pairing instructions
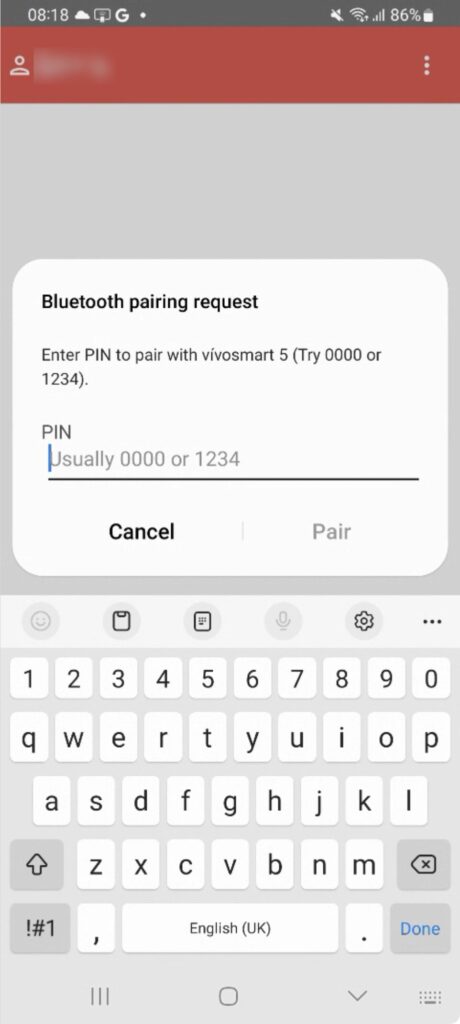
(24) sync the Garmin device once before starting data collection. This will apply all necessary configurations to the Garmin device.
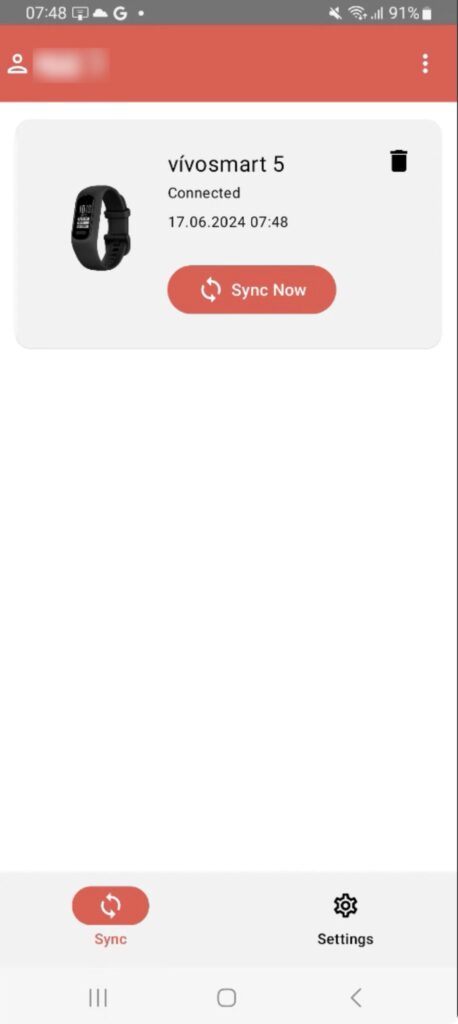
The device is now fully configured.
We advise to conduct below steps for validation prior handing out the device:
(25) check device settings on SETTINGS screen. If DATA LOGGING settings are wrong, sync again.
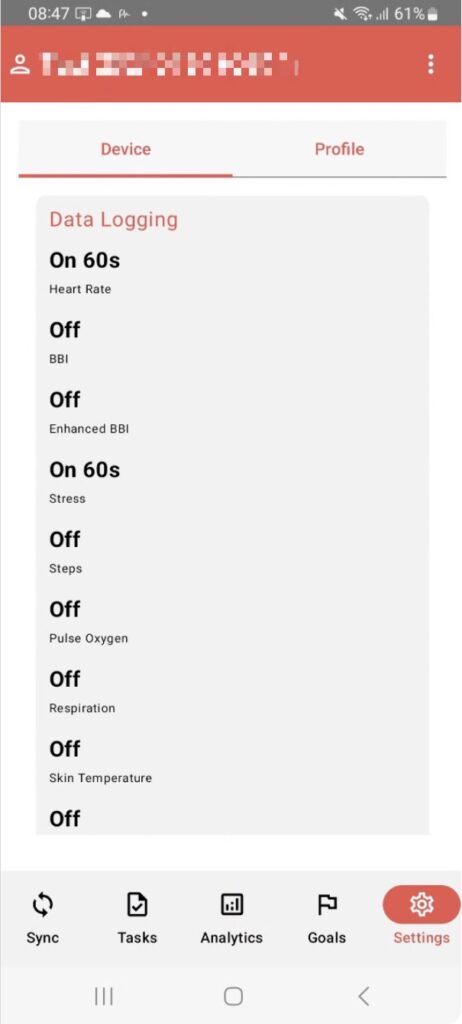
(26) note the following sync advise: when you manually started a sync, you can minimize the app during the sync. You do not need to wait until the sync has finished. But it is important that the Garmin device remains in close proximity to the smartphone/tablet during the sync progress.
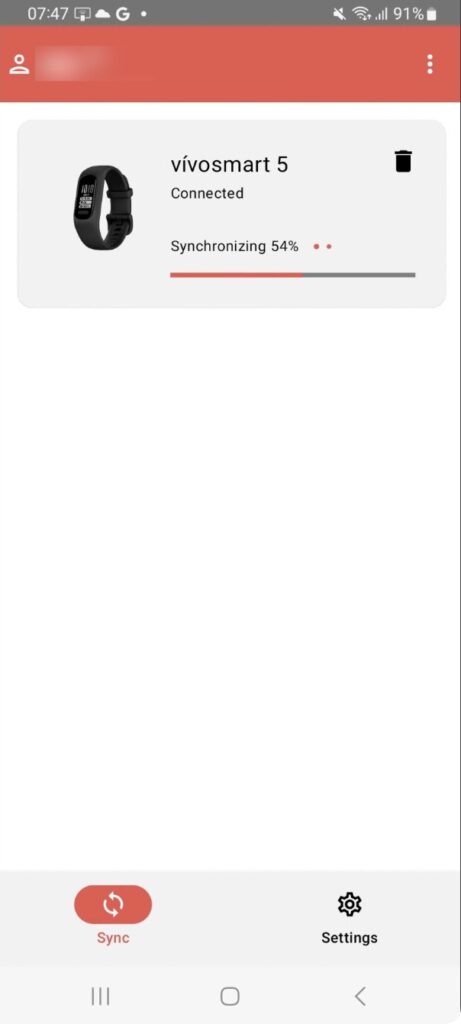
Check the settings
Project settings will be transferred to the device whenever it is synchronized. It is recommended to check whether settings got successfully transferred at initial device setup. To do so, check settings in the Fitrockr app under Settings navigation item or in the Fitrockr Control Center under Device when editing a user.
If device settings are wrong, sync again until device settings have been correctly updated.
Blank out device screen
Project settings allow to blank out device screens. This setting will be transferred during a synchronization. If device screen still allows to swipe through the data after synchronization, restart the app / phone and sync again.
Background synchronization
Garmin devices have an undisclosed built-in logic when to attempt a background sync. This is event-based rather than time-based. For instance if Bluetooth is reconnected or user is sedentary for 3 minutes after performing an activity or a threshold of steps.
This means that background syncs are happening irregularly throughout the day but you should receive multiple syncs every day.
We advise to set up a sync alert to remind users to manually sync if background sync repeatedly fails over 2 days.
Set up a sync alert
It is highly recommended to set up a sync alert. In the Fitrockr Control Center, select Manage > Alerts and set up an alert if device is not synced every 2 days. Set up a trigger to send a push notification to participants that fail to do so. This will remind participant to manually sync if background sync was not properly running.
Wifi Sync
You can use Wifi Sync, as long as you are using an Android phone with the Sync App. (Wifi Sync requires additional setup in the project and in the app itself – please see below)
Wifi Sync is done automatically and randomly.
Wifi Syncs allow you to upload data faster than through the typical Bluetooth.
Setup – Wifi Sync
To setup Wifi Sync, go into your Project and Select ‘Show Wifi Sync’:

Once this is done, you can find Wifi Tab in the Settings on the Fitrockr App:
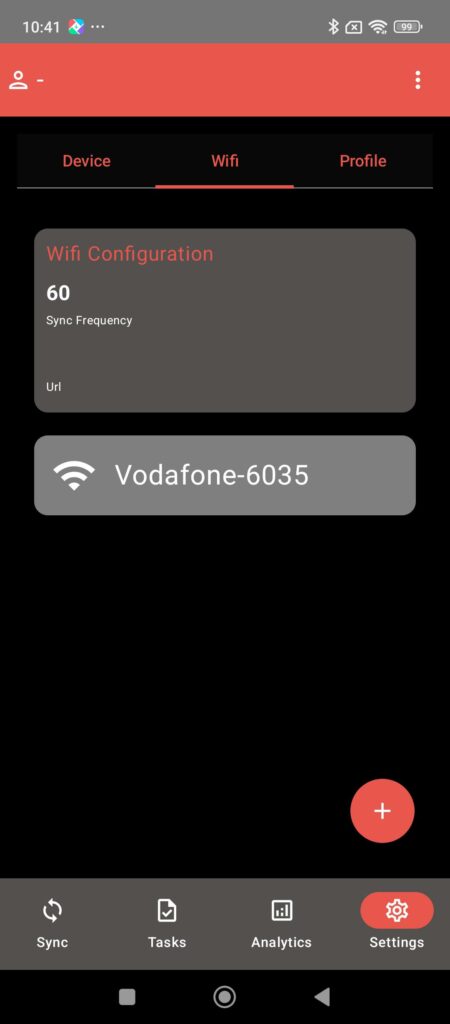
Simply click on the ‘+’ and connect your Wifi and you have now successfully setup your Wifi Sync!
IMPORTANT
Wifi Sync only uploads the Logging Data (enhanced sampling data setup in the Project configurations).
Background Bluetooth Syncs will continue to occur and will cover the standard data.
Live Streaming Add-on
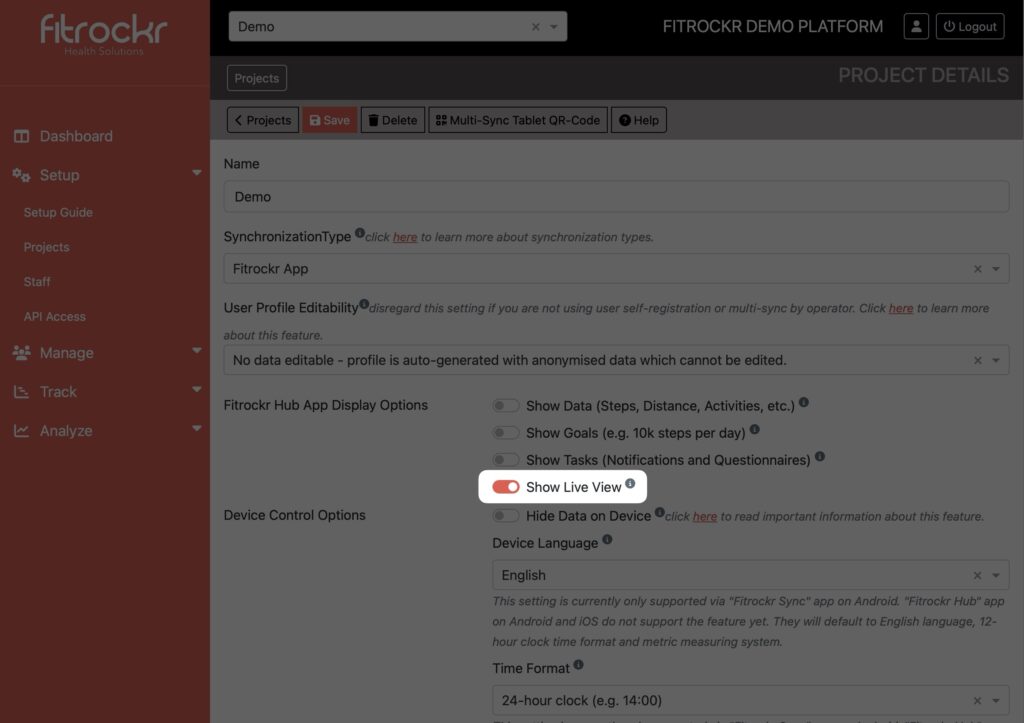
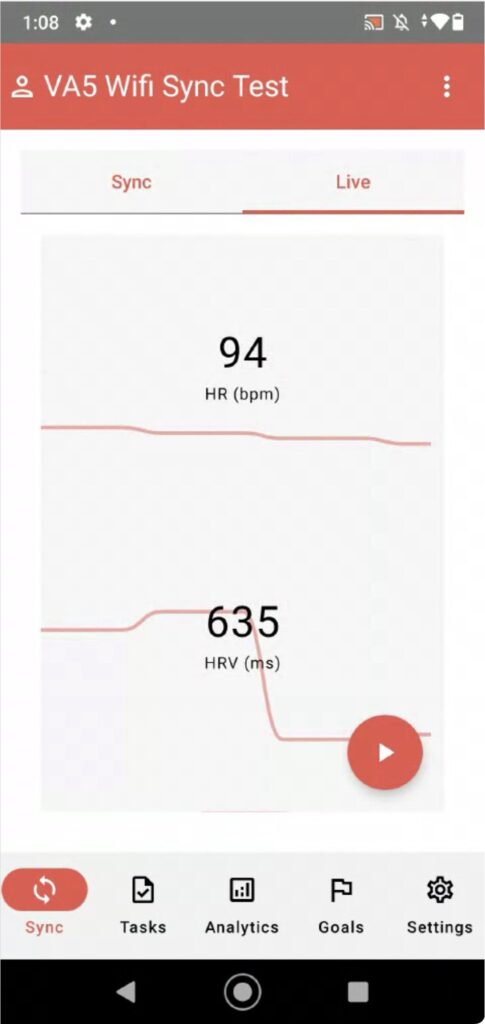
Once enabled, a live streaming section will become available in the Fitrockr Sync app. You may need to restart the app to activate the feature.
The Live section will show a live data stream of the Garmin device. Click on the play button will stream the data to the server where it can be viewed and made available via the Fitrockr API.
Live streaming add-on is not available for iOS yet.
Setup – iPhone Smartphone
Fitrockr Hub app requires iOS16+
If you experience issues, follow the Fitrockr Trouble Shooting Guide.
(1) factory reset Garmin device.
(2) remove Garmin Connect app from smartphone if applicable.
(3) download the “Fitrockr Hub – Garmin Sync” app from the Google Play Store.
Do not mistakenly download the “Fitrockr – Fitness Challenges” app.
(4) open the Fitrockr Hub app.
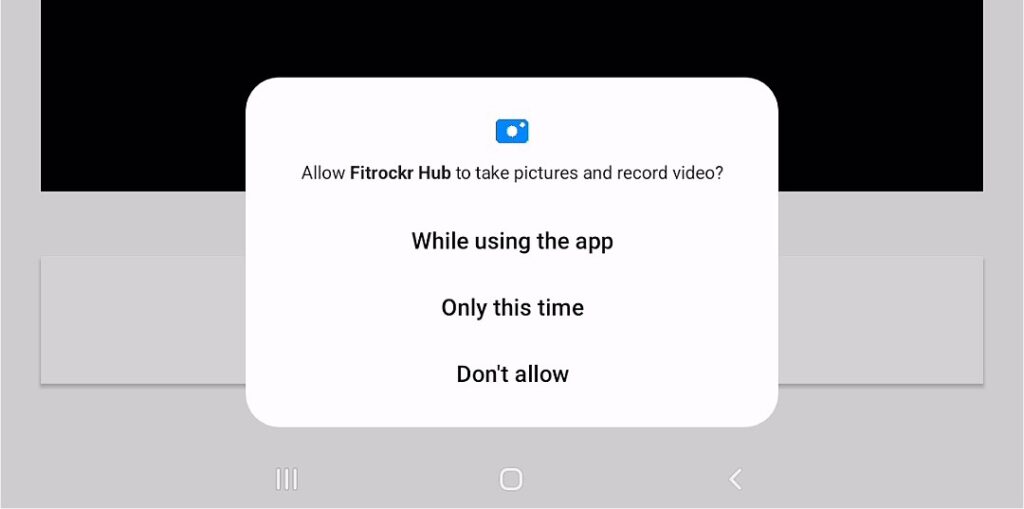
(5) approve all consents to allow app to use camera, bluetooth, etc.
(6) scan QR-code or enter join-code.
(7) depending whether personal or generic join-code was scanned, user account will either be automatically recognized or user will be asked to setup a profile.
(8) click on “Start Pairing” and select Garmin device.
If Garmin device is not displayed, ensure that it is in Bluetooth pairing mode or check the trouble shooting guide at https://www.fitrockr.com/help-center/fitrockr-hub-app-trouble-shooting
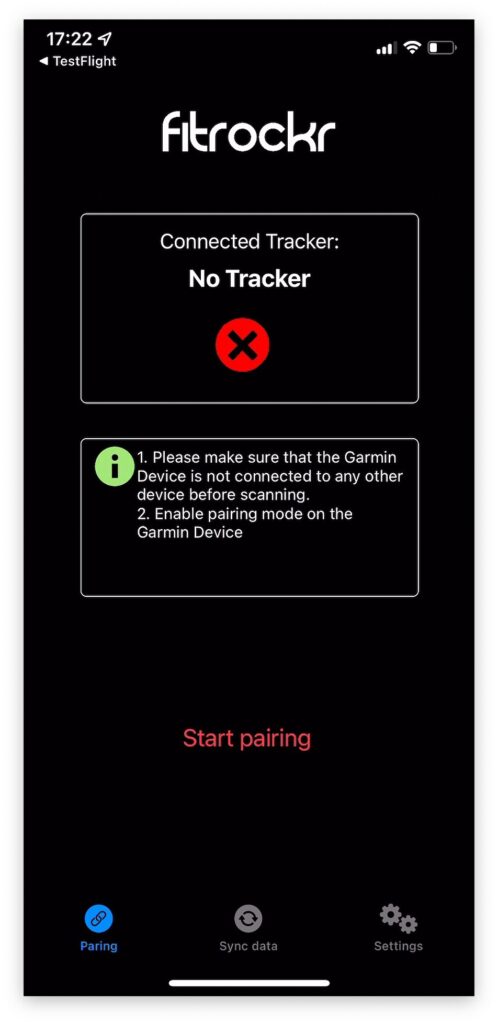
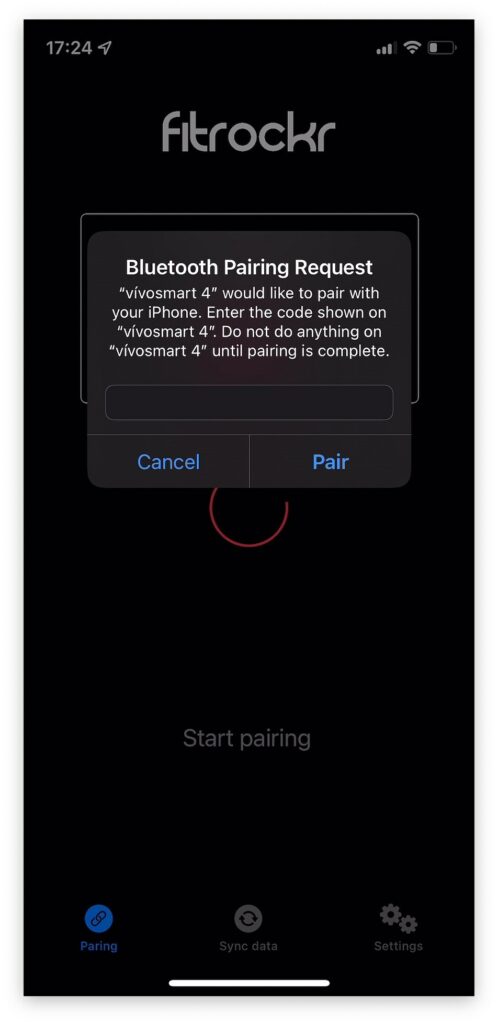
(9) follow pairing instructions
(10) after successful pairing, Garmin device can be synchronized by opening the Fitrockr Hub app and clicking on “Sync Device” (if device does not automatically start syncing).
(11) sync the Garmin device once before starting data collection. This will apply all necessary configurations to the Garmin device.
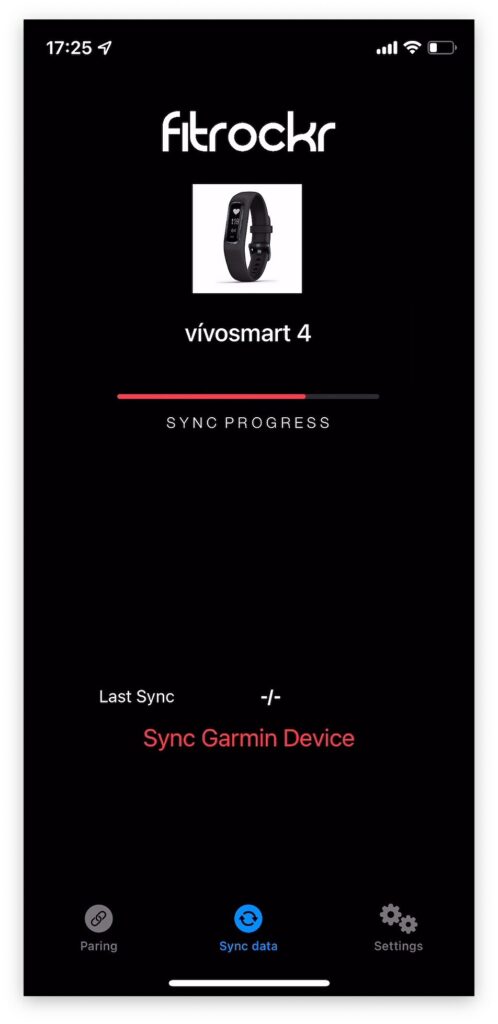
The device is now ready to collect data.
To sync the device, user needs to regularly open the Fitrockr Hub app which will initiate the sync.
Check the Settings
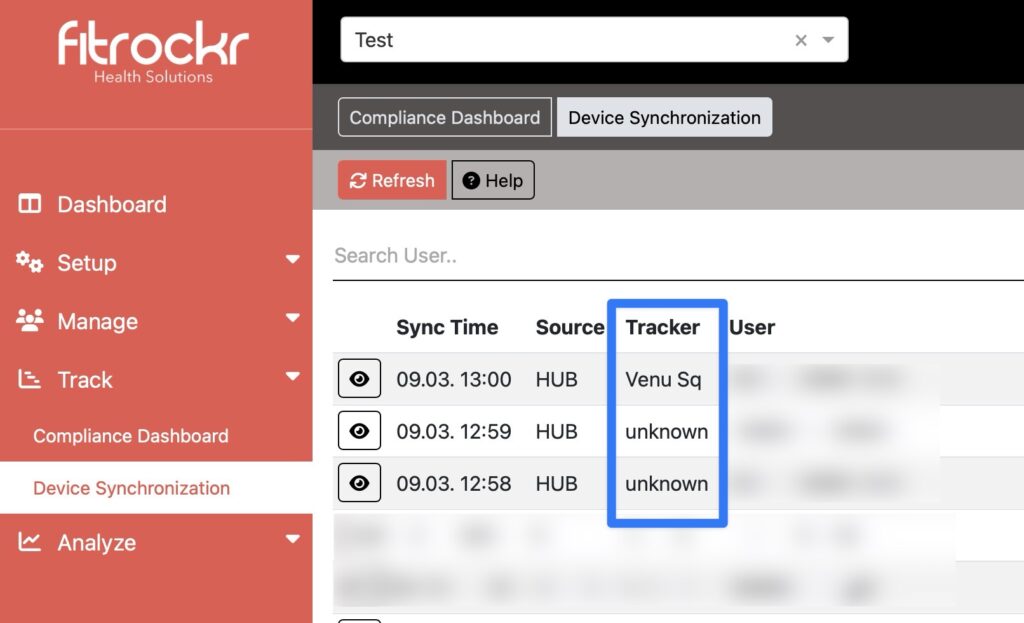
Project settings will be transferred to the device whenever it is synchronized. It is recommended to check whether settings got successfully transferred at initial device setup. To do so, either check settings in the Fitrockr mobile app under Settings navigation item or in the Fitrockr Control Center web app under Device Synchronization. If device is displayed as “unknown”, keep repeating the sync until settings are successfully transferred and device name correctly appears in the list.
Background Synchronization
Fitrockr Hub app does not synchronize in the background. A sync requires the user to open the app which will initialize the sync.